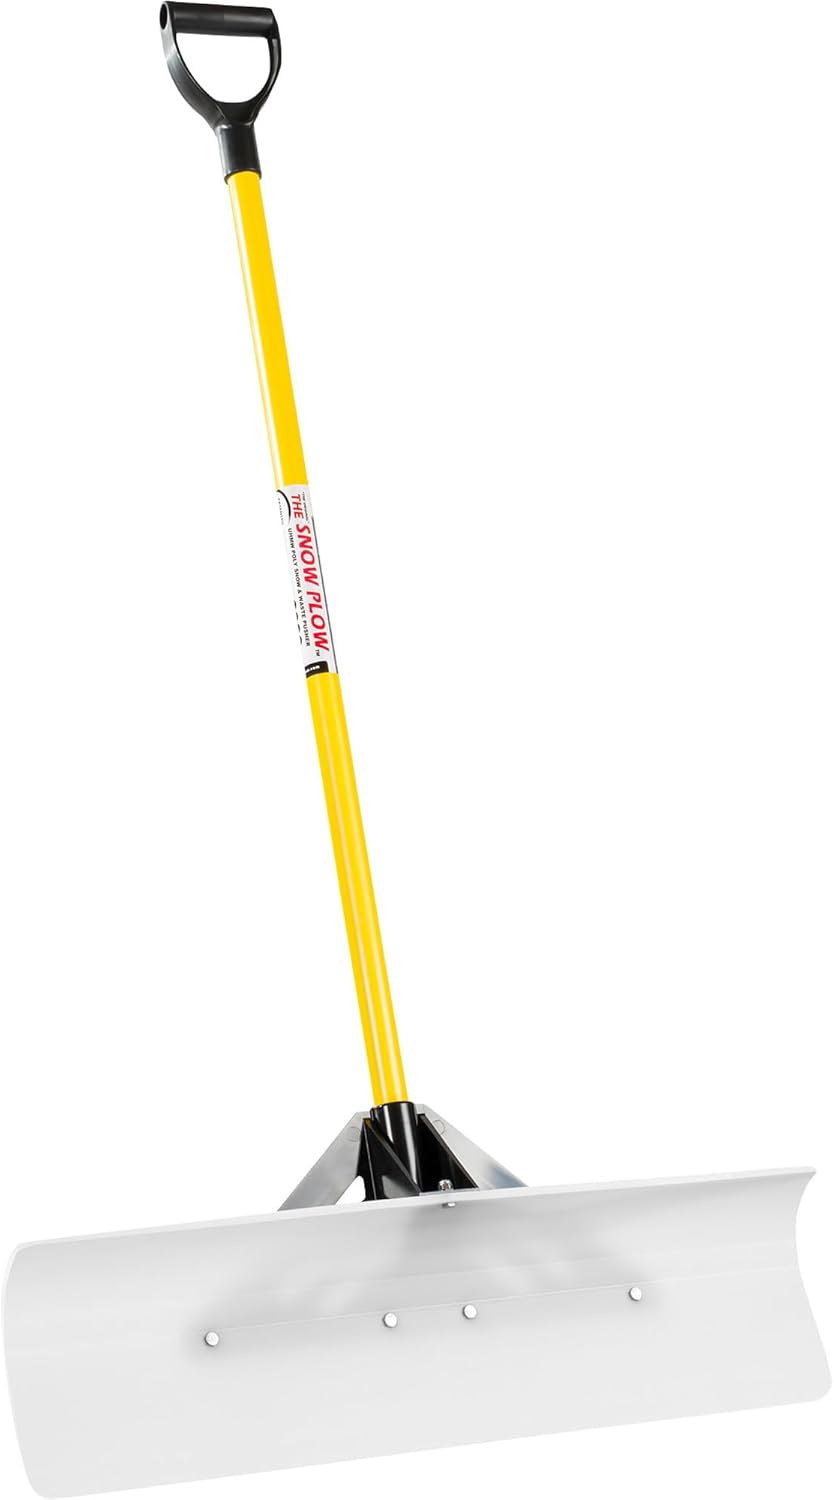
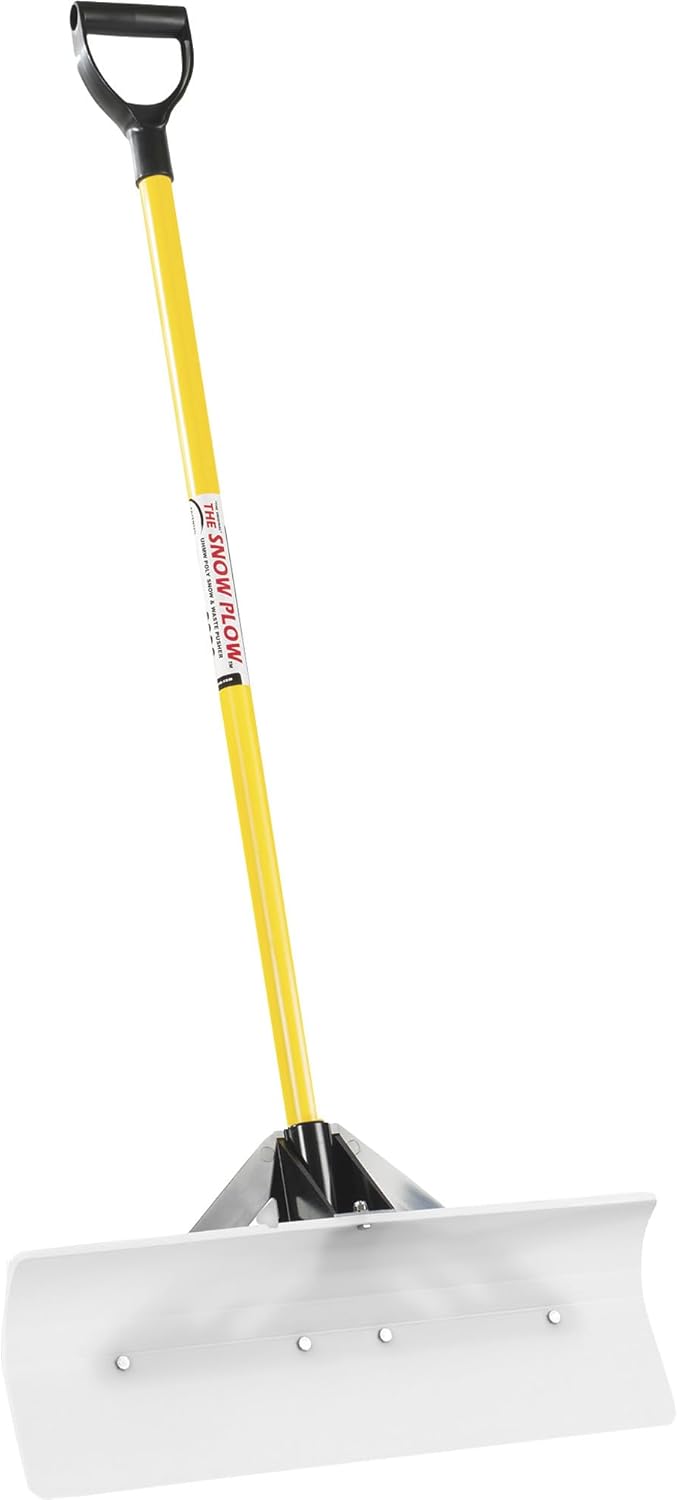



This is a great shovel. I owned the 48” model when I lived in MN, and used it for more than a decade, and loved it. But in MN, you can go into any hardware store, and buy one of these already assembled, ready-to-go. Now I live in NC, and when I went to the store looking for a snow-shovel (which we rarely need), I just got confused looks. So I bought this 24” one on Amazon.There are a LOT of negative reviews, mostly complaining about assembly issues, or missing hardware. So let me set the record straight. YES you will need tools and some mechanical aptitude to assemble this shovel – so know that in advance. Why can’t the manufacturer make this clear in the description? Better yet, why can’t the manufacturer pre-drill pilot holes, and make this a lot easier for everyone? But having said that – it really is a high-quality, very sturdy shovel, and the included hardware is top-quality stainless.OK – here is what you need to know: First of all, the hardware is hiding. They stuff the bag of hardware into the cylindrical socket in the brace – where the handle inserts into – and where you would NEVER see it if you didn’t know to look there. As a guy who never reads instructions, I too was certain it had been shipped without hardware, until I noticed the sticker telling me where to look.Next – to assemble the blade to the brace, you will need TWO 7/16” wrenches, one for the bolt, and one for the Nylock nut. I used a 7/16” socket plus an open-end wrench. A crescent wrench or even a pliers can hold one end if that’s all you have handy. First get all the bolts assembled in their (pre-drilled) holes, but don’t tighten yet. Then go back and tighten-up the bolts across the blade, and finally the one on top. No need to really torque them down, just reasonable hand tighten so you don’t deform the plastic. (by the way this is REALLY high-quality plastic – incredibly tough and sturdy). This is the easy part.Finally – we get to what all the complaints are about: there are 3 self-drilling/tapping stainless screws which are intended to drill through the plastic brace, and then drill and thread into the thin steel tube of the handle, thus securing it to the blade assembly. There are no pilot-holes – you as the assembler, have to run these fasteners at the correct speed to drill through two different materials, and then not over-torque them and strip-out the screw in the handle. This is where everyone is complaining that you need a power screwdriver. Its true – no way you could do this with a hand screwdriver. In addition, while doing this drilling/tapping operation, you have to make sure the handle is fully inserted to the proper depth, AND the handle is rotated to the correct position. I’m an experienced machinist, yet I can completely understand why many would be hesitant with this step. If you have never used a fastener like this, you have no room for error – either it works for you the first time, or not. If you don’t have a pristine Phillips #2 head on your drill/driver, chances are that, even if you do everything perfectly, the screw can slip and get away from you while trying to drill into the side of a steel tube with no centerpunch, and go sideways. Moreover – once you finally drill through the steel tube of the handle, now the threaded portion engages, and with your drill still spinning at high-speed, the threads could rapidly hit bottom and strip-out the steel tube. Be careful. Take it slow. Or – better yet, pre-drill pilot holes with a 1/8” drill – then it is easy to thread the self- drilling/tapping screws in, even with a regular Phillips driver.With successful assembly, this shovel is great – I would give it 5-stars. But because of the assembly issues which are going to be a problem for many people, I have to subtract a star.